The current JMRI OperationsPro Settings Help is here.
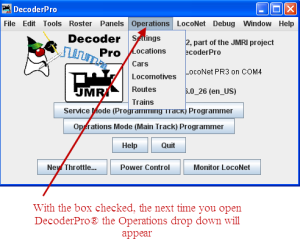
The Operations Settings Window is opened from
DecoderPro® Tools menu / Operations ![]() Settings or Operations menu / Settings if selected in Operations Setting window.
Settings or Operations menu / Settings if selected in Operations Setting window.
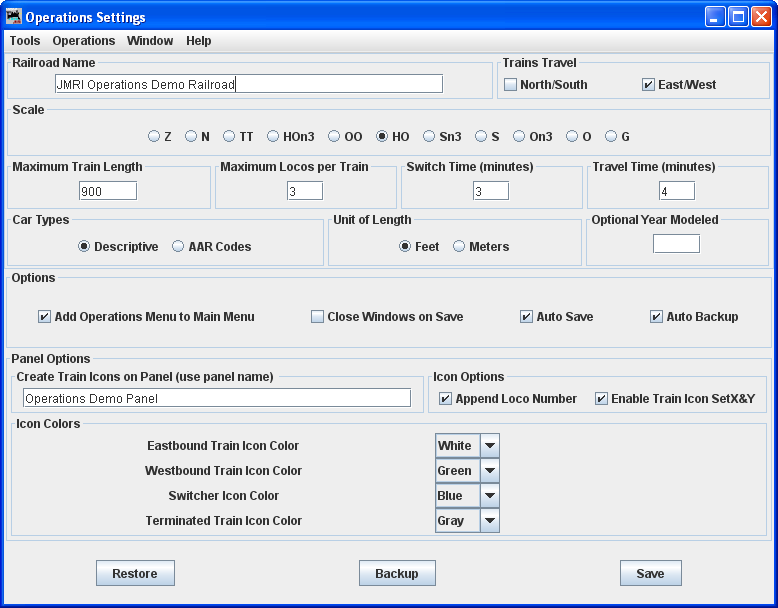
Settings -- describes your railroad to the operations program.

|
|
|
Railroad Name Enter the name of your railroad. This name will show up on your manifests You may use a different name for every train in your Roster. See Train Options for details. |
Trains Travel North/South East/West If your railroad depicts trains traveling north and south select the "North/South" box, if your trains travel east and west select the "East/West" box. You must select at least one direction, and can if desired select both. |

|
|
Scale Select the radio button for the scale of your railroad. This will be used in calculating scale feet when you enter actual inches. Select the scale you are modeling. This is useful when you enter the length of cars and tracks. You can enter the number of actual inches and the program will convert to scale feet. Append a double quote to the length when entering actual inches. The program will also automatically assign the proper NMRA weight for a car based on scale and length. When Meters is set as the Unit of Length, input as "123cm" so actual centimeters will be converted into scale Meters. |

|
|||
| Maximum Train Length (ft) This field provides the maximum default train length between cities. Later you can override this length if you wish a shorter train between any two Locations. A 1000 foot train can carry approximately 20 cars, and is of course dependent on the car lengths assigned to the train. |
Maximum Locos per Train Now set the maximum number of Locomotives that you want the program to assign to a train. If you don't want the program assigning Locomotives, set this value to 0. |
Switch Time (minutes) | Travel Time (minutes) OperationsPro when generating Switch Lists for the various Locations on your railroad, will estimate the arrival times for your Trains based on the Train's departure time and the switch and travel times. Enter the average number of minutes it takes to drop or pickup a car on your railroad. Then enter the average amount of time in minutes it takes to travel from one Location to the another. Later when you create a Route you will be able to increase or decrease the Train's travel time between any two Locations |

|
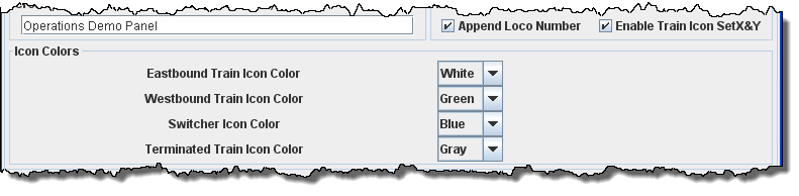
| Panel options will not be covered in this manual at this time. Panels are normally created as a part of PanelPro™ |
|
| Icon Colors Not covered here and normally used with PanelPro |

|
||
| The Restore button will prompt you to select which set of backup files you wish to use to recover your operation files. You must quit and restart DecoderPro® to complete the restoration of the operation files. | The Backup button will store a copy of the operation files in a new directory in operations called backups, and then stores the operation files in a directory that is based on the day you created the backup. For example, if today was November 21, 2008, the program will create a backup directory named 2008_11_21. | When you're finished with the settings window, press the Save button to store the setting in a file called Operations.xml. You can find this file in your JMRI directory in a folder called operations. The program will also create a backup file each time you press the Save button |